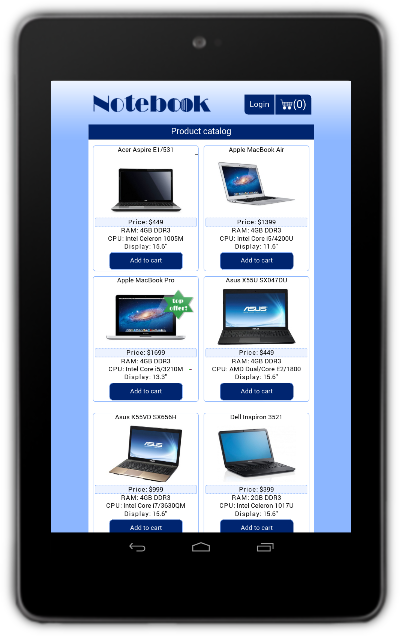
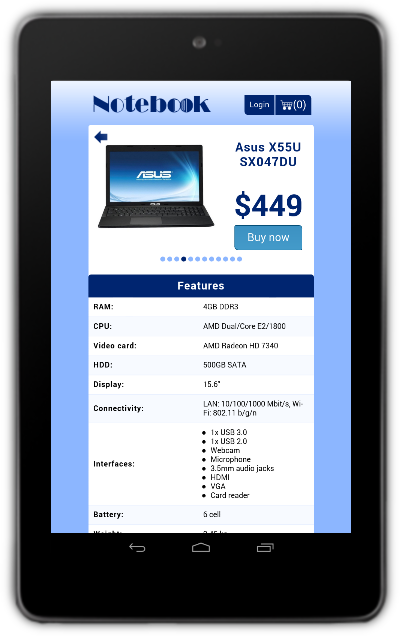
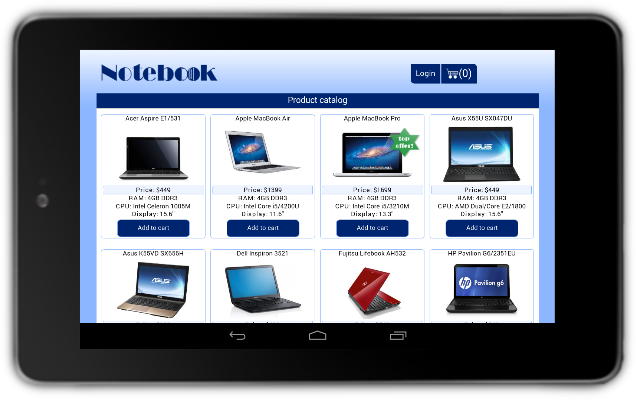
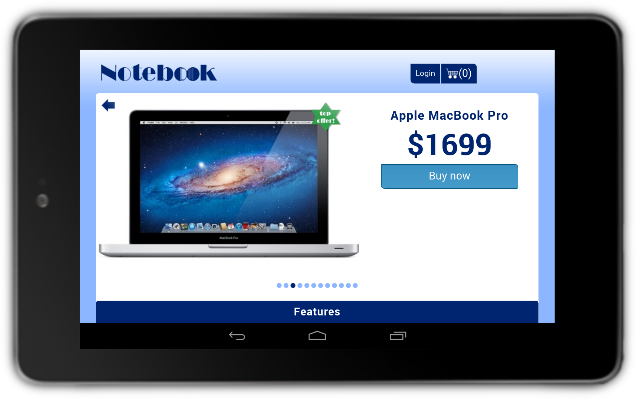
jQWidgets eStore Mobile PhoneGap Application for Android
In this tutorial, you will learn how to port the jQWidgets eStore example to the Android mobile operating system using PhoneGap/Apache Cordova.
You may also be interested in the porting tutorials for BlackBerry 10, iOS or Windows Phone 8.
1. Getting Started
Before you proceed with reading this tutorial, please make sure you are familiar with the beginner's Android tutorial, which deals with how to set up your system and mobile device in detail. You may also want to check out the Android geolocation tutorial.
We will be using the Windows operating system to create our eStore mobile application.
2. Create a New PhoneGap Project
Open Command Prompt and create a new PhoneGap application, named eStore:
C:\>phonegap create estore -n eStore -i com.example.estore
Then enter the newly created project folder:
C:\>cd estore
3. Add the Application Source Code
The next step is to include the application's source code and other necessary files
(including data sources and images) to the PhoneGap project. All these files should
be put in the estore\www folder.
The files which have to be included are:
index.html- contains the app's HTML structure and references to all needed files. You can find the source code ofindex.htmlhere;functionality.js- contains the app's functionality. You can find the source code offunctionality.jshere;laptops.txt- contains all the eStore product data;jquery-1.11.1.min.js- jQuery script file;- jQWidgets JavaScript files - needed to initialize all jQWidgets controls:
jqxcore.js;jqxdata.js;jqxbuttons.js;jqxscrollbar.js;jqxmenu.js;jqxdatatable.js;jqxtabs.js;jqxwindow.js;jqxinput.js;jqxpasswordinput.js;jqxvalidator.js;jqxscrollview.js.
- jQWidgets CSS files:
jqx.base.css- main CSS file;jqx.darkblue.css- Dark Blue theme file.
- image files.
phonegap.js- this file has to be referenced inindex.html, but does not have to be included in thewwwfolder, beacause it is automatically added when the application is being built;
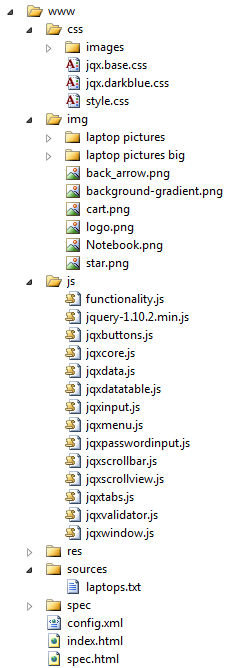
Here is the structure of the www folder with all files included:
4. Build and Run the Application
Build the project for Android by typing:
C:\estore>phonegap build android
To install the built application on a properly cofigured and connected device (see
Step 2 from the beginner's tutorial), use the install
command:
C:\estore>phonegap install android
You can also use the run command as a combination of build
and install. It also starts the application once it has been deployed
on the device:
C:\estore>phonegap run android
The application is now successfully installed! You can download the whole project from here.